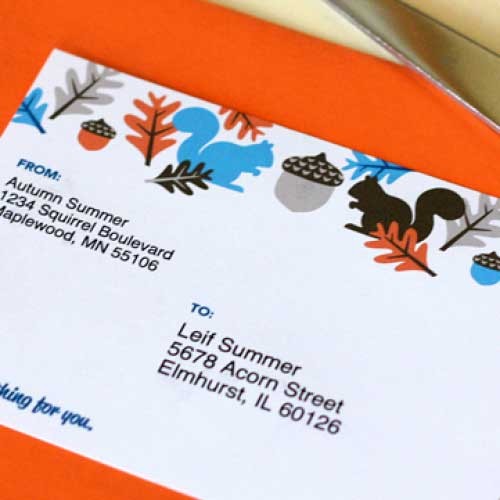
Attempting to print envelopes, mailing labels or greetings cards can be challenging when you want something larger than a typical letter size. Any errors can result in a page full of labels that can’t be used. However, Microsoft Excel can be used to make things a lot easier since it offers tools that allow you to fill out and preview the labels prior to printing them.
One of the simplest ways to print labels through Excel is to make use of Microsoft Word. Word would be used to print the labels from the data that comes from the Excel spreadsheet. It is important to know which label and envelope you’ll be using to get the most out of Word and Excel, and you can use the product number which is provided by the label manufacturer or you can simply enter the label size.
Using Microsoft Word To Print Labels Through Excel
One method for printing labels via Excel is through a MS Word feature called mail merge. Once a mail merge has been created you can then attach it to the Excel list and then turn the data from the spreadsheet, such as the contact details of your customers. These can then be used as printable labels which can be mailed.
To achieve this you will first want to use Excel to establish the data that you intend to use within the mail merge. Then you must save the workbook and close it, after which you will open MS Word, look under “Tools” and then under “Letters and Mailings” you would click on the “Mail Merge Wizard.” This wizard allows you to pick the type of document, and you would pick Labels first for the mailing labels, after which you would look under “Label Options” and pick the type of labels you want to print, as well as their size and variation.

Accessing The Excel Workbook
Now you will want to look under “Select Recipients” and choose “Use an Existing List.” Click “Browse” and then you can select the Excel workbook that you saved which has the desired data. Locate and select your list within the “Select Table” menu box, and check the option which says “First Row of Data Contains Column Headers.” Then press OK.
You will now be able to see a location within the “Mail Merge Recipients” box where you can select any of the column labels from the worksheet which are associated with the identifiers for Word. This option makes it a lot easier for data to be placed within the documents. You also have the option of selecting “Edit Recipient List” to choose the recipients you want to add if you’re only adding specific recipients within the mail merge. The rest of the process is simple as the wizard will show you how to personalize, save, preview, email and print the documents.
It is important to remember that the Excel workbook can’t be opened while it is opened in Microsoft Word. The wizard gives you the option of altering the list if you want; use this feature if you wish to do any editing.


