Are you ready with your label design that is all set to be printed? It’s very important to avoid any sort of printer misalignment issues while printing the labels for your product. Here are a few guidelines that will help you counter printer alignment problems.
Take note of the printer movement
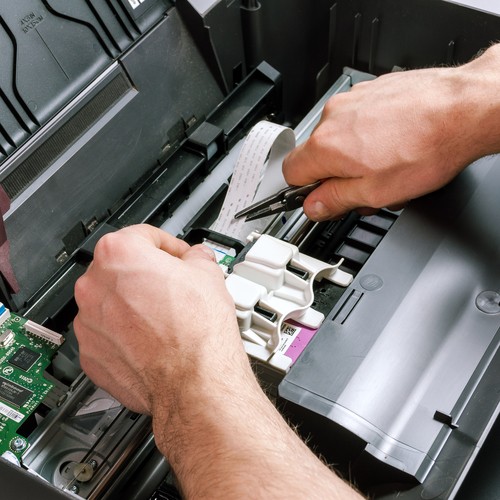
The most common cause of printer misalignment is the amount of shift that takes place when printing the label design. If your content is not in proper alignment with the sheet, then you are probably having an issue from paper shifting. This can be adjusted by keeping images and text at least 1/8 inch apart from the label’s edge. Also, make sure to place the sheet accordingly on the tray, so as to avoid misalignment.
Add bleed to your designs
If you haven’t heard the term bleed, it’s just another name for paper-shifting, which is meant to construct a design that eliminates the chances of producing a label with unwanted edges. Say for an instance, if you want a text, borderline or a background image extended to the label’s edge, you need to add bleed of around 1/16 to 1/8 inch for the content to fit in.
Check for non-printable margin
Most of the printers have a certain boundary limit beyond which they don’t print on the sheet. This is the reason why you may have encountered the label design off the edge in a few cases. Determine the capability of your digital printer by printing at 100% zoom, while turning off the page scale. This will tell you the exact non-printable margin you need to abide by, and you can lay out the design accordingly.
Scaling the page properly
Adjustment of page scale settings is totally dependent upon the program you are using. For Adobe, you need to ensure that Page Scaling is set to “Actual Size” or “None” and the ‘Auto-Rotate and Center’ option box should be unchecked. For Maestro Label Designer, you can take a look at the print preview.
Page Setup for Mac Users
There’s a ‘Page Setup’ option in Mac OS applications, which can be generally found by clicking print and in the File dropdown. You need to do a couple of things once you open the ‘Page Setup’.
- Select the size of the sheet on the tray, in the paper size setting.
- Set the scale to 100% by selecting the vertical orientation.
Page Setup for Microsoft Users
If the design is being printed too far or too close from the edge, you need to adjust the settings as per your requirement by opening the ‘Page Layout’ Option.
If you still encounter problems with printer alignment, try using another printer if you have one. The main idea is to experiment a few times with paper shifting and printer margins to understand as to what dimension fits the purpose, since every printer is different. Creating your product labels with Cut Sheet Labels helps you to eliminate these problems at the very onset!

